Brownie Bites with Mint Buttercream Frosting

027

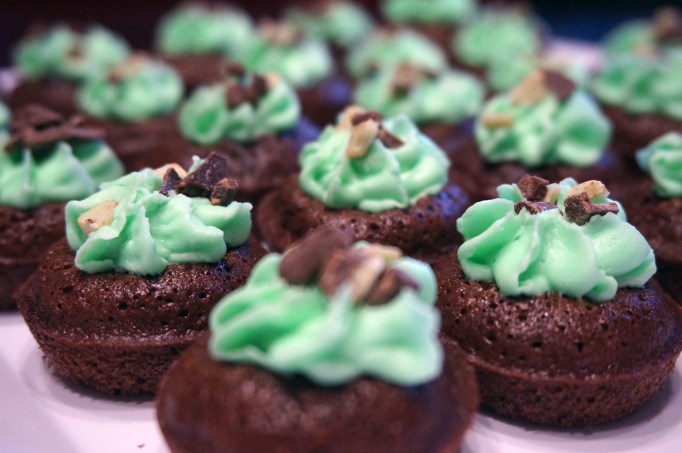
In honor of St. Patrick’s Day, I made a couple batches of these little beauties to take into work tomorrow.   I cheated and used a boxed brownie mix, but the frosting was all made from scratch, so hopefully I redeemed myself.

Enjoy!

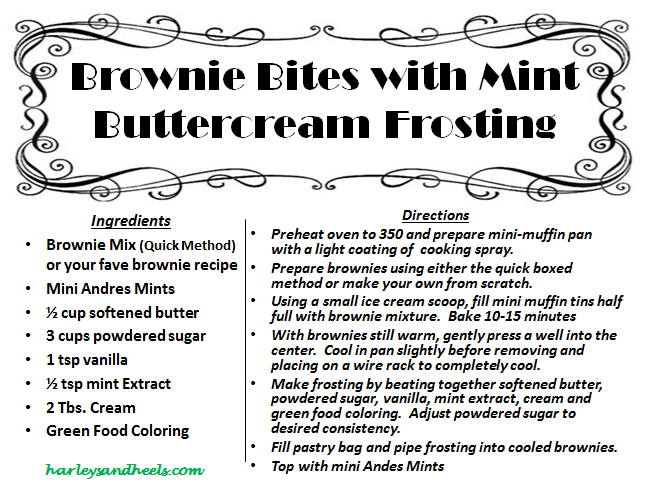
Step 1:  Make your brownie batter whether using a box, or from scratch.   Using a mini ice cream scoop, fill mini muffin tins about 1/2-3/4 of the way full.

014

Step 2: Bake at 350 degrees for 10-12 minutes.  Do NOT over-bake.  Crunchy brownie bites aren’t that appealing.  Remove from pan and with your thumb create a small indentation to fill with frosting later.
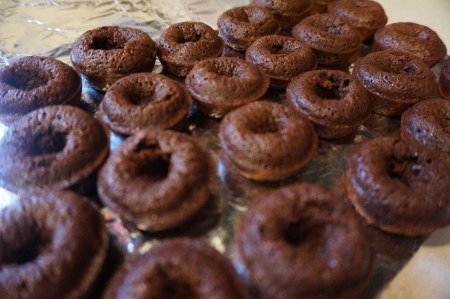
015

Step 3:  Make the frosting.  Hands down the best part if you ask me!   🙂  I have this handy tool from Pampered Chef to assist in the frosting business.  Helps me look like I know what I’m doing!  Fancy!
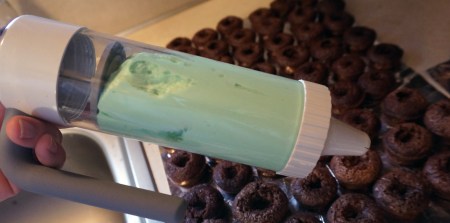
018

Step 4:  Start filling those babies up!

020

Step 5:  Sprinkle with a few Andes Mints and you’re good to go!   Bite sized, minty fun.  Just don’t eat too many.  Defeats the purpose of portion control.

030

028

027

026

Brownie Bites and Mint Buttercream Frosting

No-Bake Energy Bites

038

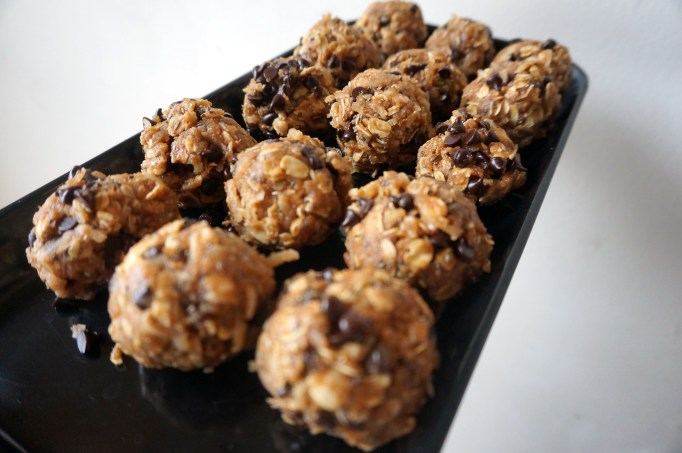
No-Bake Energy Bites

Perfect for a quick afternoon snack or pre-workout fuel.  Easy to make, keeps well, transportable!

Energy Bites

Step 1:  Dump all ingredients into a bowl

036

Step Two:  Mix well

037

Step Three:  Shape into balls and refrigerate until firm

047

040

039

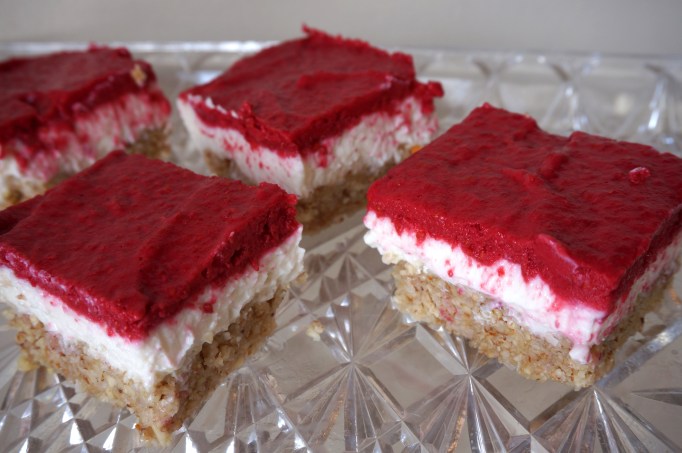
Frozen Raspberry Yogurt Bars

030

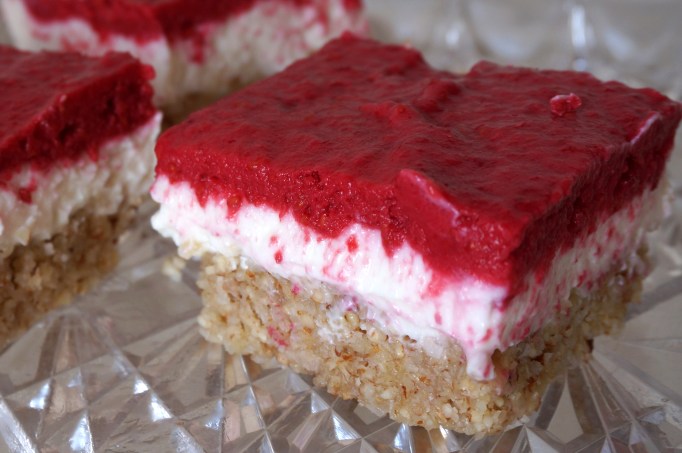
The recipe for Frozen Berry Yogurt Bars was originally discovered on Move Nourish Believe.  I made a few minor adjustments to appease my taste buds and am very pleased with how they turned out.

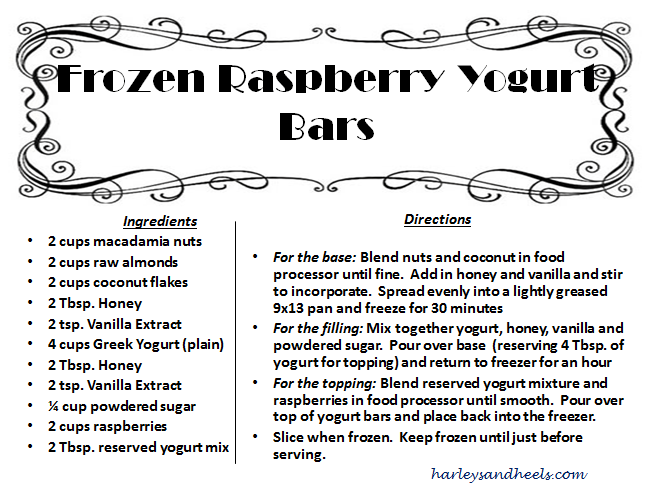
The base layer consists of heart healthy macadamia nuts and almonds.  Macadamias are a rich source of Vitamin A, iron, protein and folates. Almonds are rich in vitamins, minerals, protein, healthy fats and antioxidants.

012

Add in the sweetness of coconut, honey and vanilla extract and you have a base layer that is yummy enough to eat alone.

014

Each layer is made and frozen in stages.  After the first layer is blended together and packed into a 9×13 it goes in the freezer for roughly 30 minutes.

016

The second layer consists of plain Greek Yogurt (I used Chobani), honey, vanilla extract and a little bit of powdered sugar to help hold the filling together (and add a little bit of sweet).

018

After the filling is spread evenly across the base layer, back in the freezer it goes for an hour, or until the filling is solid and won’t break apart when layering the raspberry mixture.   Don’t forget to reserve 4 Tbsp. of the yogurt mix.  You will use this in the top layer.

020

The last layer consists of raspberries and yogurt blended together in the food processor until smooth.  It was very hard not to eat this by the spoonful.  I love all things raspberry.  In this recipe I used frozen berries that I let sit and thaw on the counter while I put together each layer.  You can use fresh if you so choose.

021

Evenly and carefully spread the raspberry mixture over the filling and place back in the freezer until set.

024

It is important to make sure the bars are completely frozen before cutting into them.  Keep frozen until 5-10 minutes before serving.  Keep stored in freezer.

031

029

Frozen Raspberry Yogurt Bars

Cheers!

Mediterranean Frittata Recipe

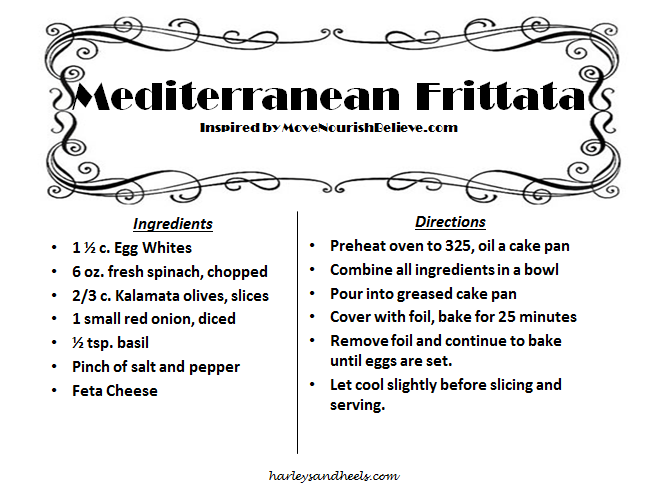
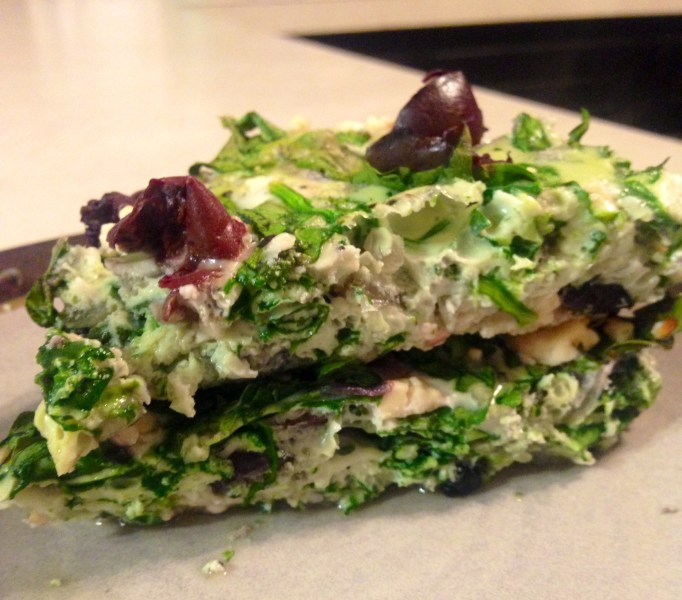
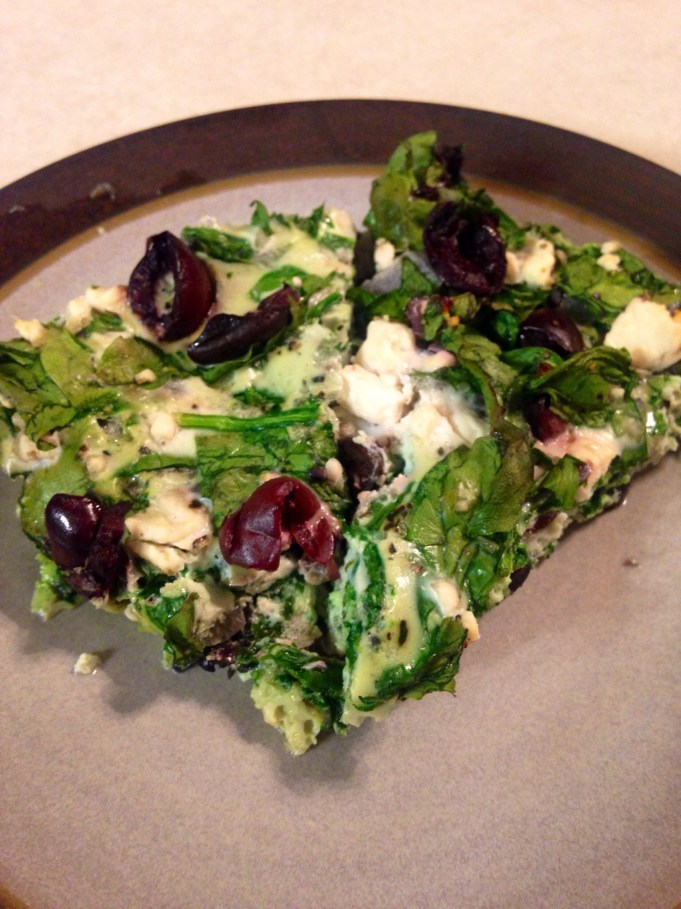
This Mediterranean Frittata recipe was inspired by Move Nourish Believe.  I discovered the recipe a few days ago, made a few tweaks and have now consumed multiple servings for two days.  Can’t wait to eat a slice for breakfast tomorrow.

Yep!  It’s THAT good.

Photo’s don’t do it justice.  Especially since I chose the lazy route and took them with my iPhone instead of my DSLR.

Deal.

image

image

Mediterranean Frittata

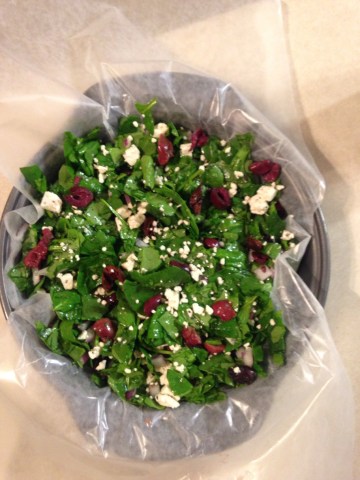
Step 1.  Chop spinach, onion and olives.  Mix together in a large bowl with the egg whites, seasoning and as much Feta Cheese as you prefer.

Step 2.  Pour into a round cake pan.  I lined my pan with wax paper, but I found this step to be unnecessary.

image

Step 3.  Bake at 325 covered for 25 minutes.  Uncover and continue baking until egg has set.

Step 4.  Cool, Cut, Eat.

image

image