Reese’s Cookie Bars

I love all the November vibes. Rich colors, crisp air, the start of Holiday conversations. For me, November marks the beginning of Fall. September is just an extended summer, October is Halloween, but November? She brings to us a season of thanksgiving in all her beautiful tones.

Of course she also brings the below, which really is a point of discussion, but I can’t seem to get her to sit down to hash it out, so here we are.

In the dark.

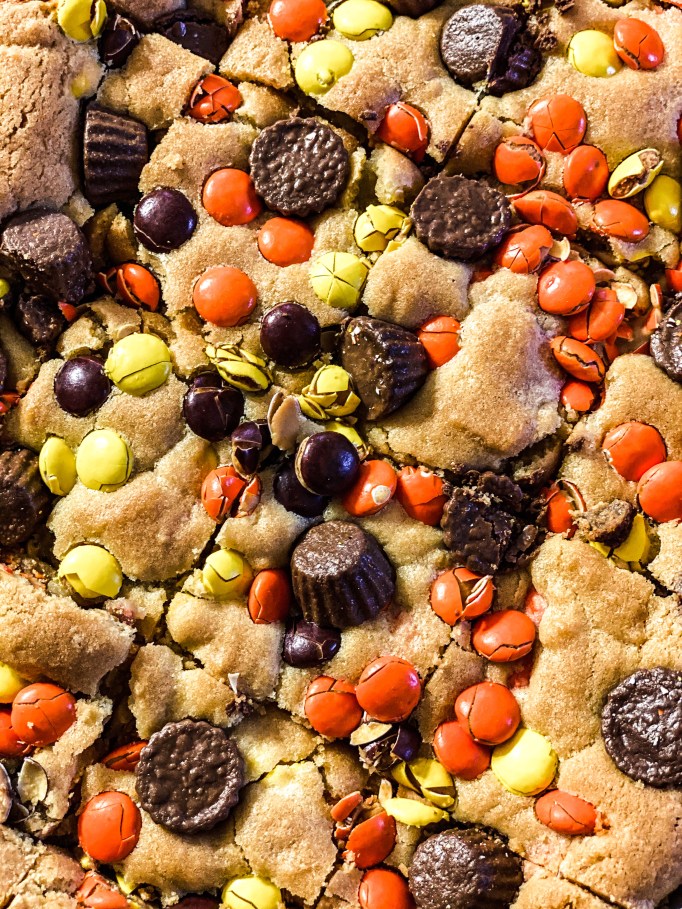
I wanted to send a treat out to the shop , which landed me on No. 2 Pencil’s recipe for Red, White & Blue M&M Cookie Bars. To give the dessert it’s fall vibe, I called in Reese’s Pieces and Reese’s mini cups as reinforcements.

You can find the original recipe here, but will share my twist below. I was told by the hubs that the slightly undercooked middle pieces would pair well with some ice cream. I wouldn’t be surprised to hear they made this happen.
Ingredients

  • 2 sticks of butter, room temperature
  • 1 cup granulated sugar
  • 1 cup firmly packed brown sugar
  • 3 large eggs
  • 1 1/2 teaspoons vanilla extract
  • 3 cups of all-purpose flour
  • 3/4 teaspoon baking soda
  • 3/4 teaspoon salt
  • Reese’s Pieces
  • Reese’s Mini Cups

Instructions

  1. Preheat oven to 350 degrees.
  2. Spray a 9×13 baking dish with nonstick spray
  3. Beat butter, granulated sugar, and brown sugar together until fluffy.
  4. Add eggs and vanilla extract.
  5. Add flour, baking soda, and salt until combined.
  6. Stir in your desired amount of Reese’s Pieces, reserving some for topping.
  7. Transfer to 9×13 baking dish.
  8. Press additional Reese’s Pieces and Reese’s Mini Cups into top of cookie dough.
  9. Bake 30 to 35 minutes on oven rack in lower third of oven.
  10. Let cool completely and cut.

Cheers!

*Contains affiliate links

The Game Changing Cookie Dough

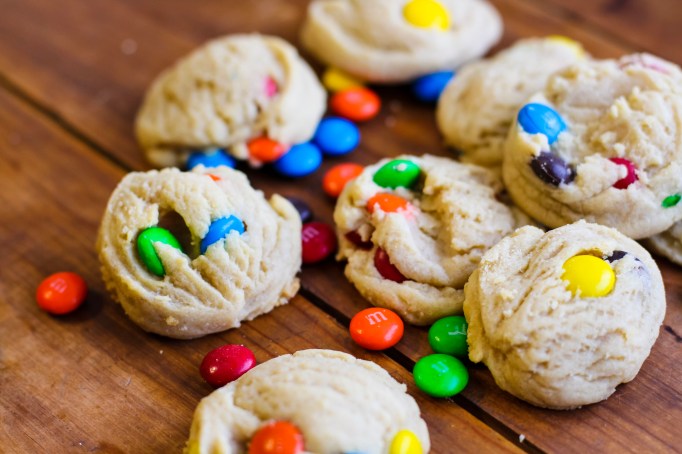
Guys.  I stumbled on this chocolate chip cookie dough recipe a few years ago and it was a total GAME CHANGER.  It is now the base to any standard cookie I make.  This weekend I threw in M&M’s.

The base of the dough is heaven.  You add in whatever flavor of the week you are after, and magic happens.   I’ve done Reese’s Pieces, PB Cups, Whoppers, Andes Mints, Snickers… you name it.  Sometimes I sub in almond extract for the vanilla just depending on what result I am after.


.

Bake for 7 minutes max for that gooey, doughy, goodness that everyone is after and you will have ZERO leftovers.  Promise.  Cross My Heart.

.

The recipe is originally from Two Peas and Their Pod.   I adjust the recipe by doubling it, using a cookie dough scoop, and mix and match my crunchy additions, again, depending on the taste-buds (or requests) of the week.  Remember, I make WEEKLY goodies for Clint’s shop.  Many a hungry bellies travel through those doors.


.

ENJOY!


The below recipe is doubled from the original.


LIFE CHANGING COOKIE DOUGH BASE 

prep time: 15 MINUTES

cook time: 6-8 MINUTES

INGREDIENTS:

  • 3 1/2 cups all-purpose flour
  • 1 teaspoon sea salt
  • 2 teaspoon baking soda
  • 1 cup salted butter, at room temperature
  • 1 cup packed brown sugar
  • 2/3 cup granulated sugar
  • 2 large eggs
  • 3 teaspoons vanilla extract (or almond)
  • Add-ins of your choice: chocolate chips. M&M’s, Reese’s Pieces, pretzels, snickers, Whoppers, etc.
  1. Preheat the oven to 350 degrees F.
  2. In medium bowl, whisk the flour, salt, and baking soda together. Set aside.
  3. Cream the butter and sugars together until creamy and smooth. Add in the eggs and extract.
  4. Slowly mix in the flour, until combined. Stir in chocolate chips, M&M’s, etc.
  5. Use cookie dough scoop to form small ball, place on baking sheet and bake for 6-8 minutes (I cook for 7 minutes for a doughy effect). Remove from the oven and let cool on cookie sheet if you want it to continue cooking a little longer, or immediately transfer to foil lined counter-top.  I don’t cool these bad boys on a wire rack as I want the maximum doughy gooey effect.

.

Raspberry Cream Cheese Coffee Cake


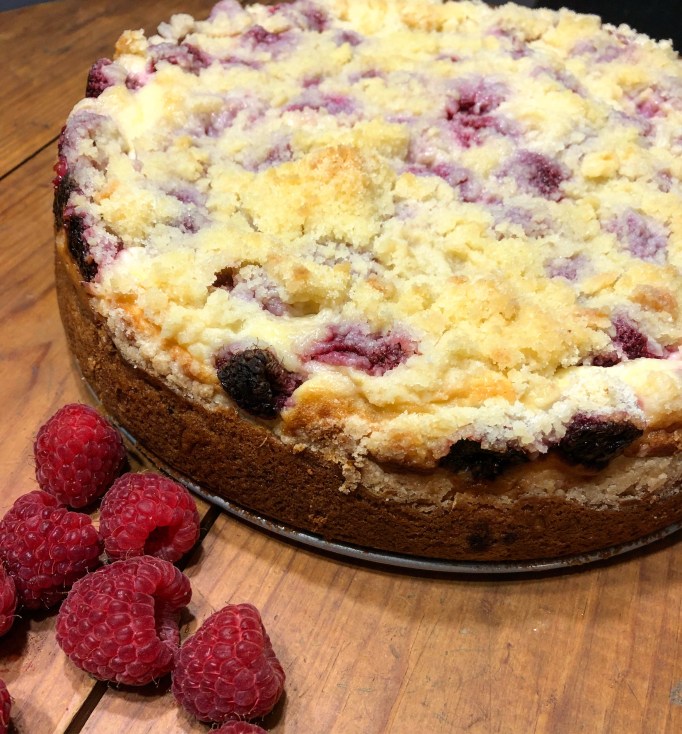
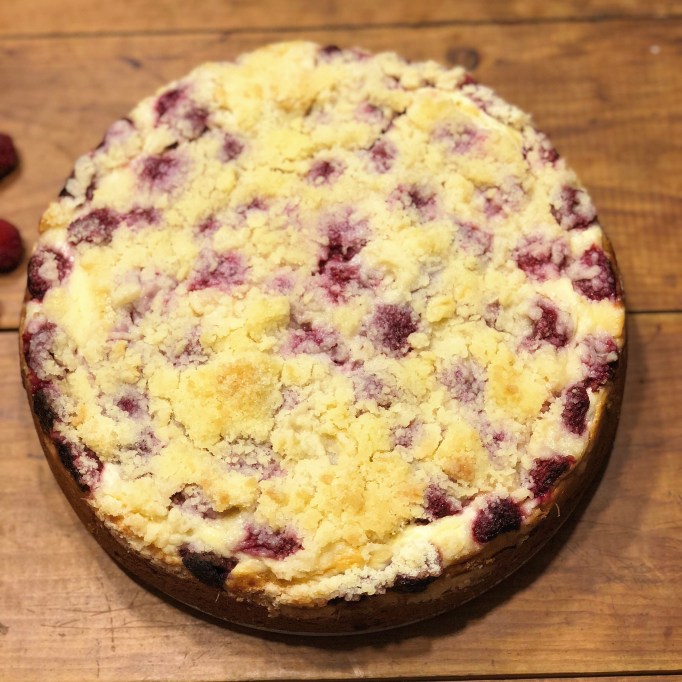
I made this dessert earlier this summer and OHMYGOSH you guys.  It was insane.

Or… so I was told.  I made it for a work meeting.  All I know is it was licked clean within an hour time span.

Thanks to Vera over at Oh My Goodness Chocolate Desserts for the easy to follow instructions and recipe.  Springforms and I have a history of disasters, but this little raspberry crumble number redeemed our friendship.

Enjoy!

PS. You should click on her link above for legitimate photos of the dessert.  Much more pleasing then my kitchen lighting + iPhone snaps.  Lazy at best when capturing food shots.  Whatevs.

Raspberry Cream Cheese Coffee Cake


Ingredients

FOR THE FILLING:
  • 1/4 cup sugar
  • 8 oz. cream cheese-softened
  • 1 egg white
  • 1 cup raspberries-washed and well drained
FOR THE CAKE:
  • 1 and 1/2 cups all-purpose flour
  • 1/2 teaspoon baking powder
  • 1/2 teaspoon baking soda
  • 1/4 teaspoon salt
  • 5.5 Tablespoons unsalted butter- softened
  • 1/2 cup sugar
  • 1 egg + 1 egg yolk
  • 3/4 cup sour cream
  • 1 teaspoon vanilla extract
FOR THE STREUSEL TOPPING:
  • 1/3 cup sugar
  • 1/2 cup flour
  • 3 tablespoons butter-chilled and cubed
Instructions
  1. Preheat oven to 350F. Grease 8 or 9 inch springform pan and line the bottom with parchment paper. Set aside.
  2. Filling instructions: Mix the cream cheese and sugar together on medium-low speed until creamy. Add egg white and mix on low until combined. Set aside.
  3. Cake batter instructions: Stir together flour, baking powder, baking soda and salt in a bowl, set aside.
  4. With an electric mixer cream together the butter and sugar on medium-low speed. Add egg, egg yolk and vanilla. Slowly mix in the flour mixture alternating with the sour cream. Transfer the batter into the prepared pan and smooth with a spatula. Spread the cream cheese filling on top. Place raspberries on top of cream cheese filling.
  5. Topping instructions: Combine sugar, flour and chilled cubed butter in a bowl. Stir with a fork or pastry blender until the mixture is crumbly and sprinkle on top of raspberries.
  6. Bake for 40-45 minutes until a cake tester inserted in the center comes out clean. Cool on a rack, run a thin knife around the cake and loose ring of springform pan.
  7. Store in the fridge.

Holy Desserts

image


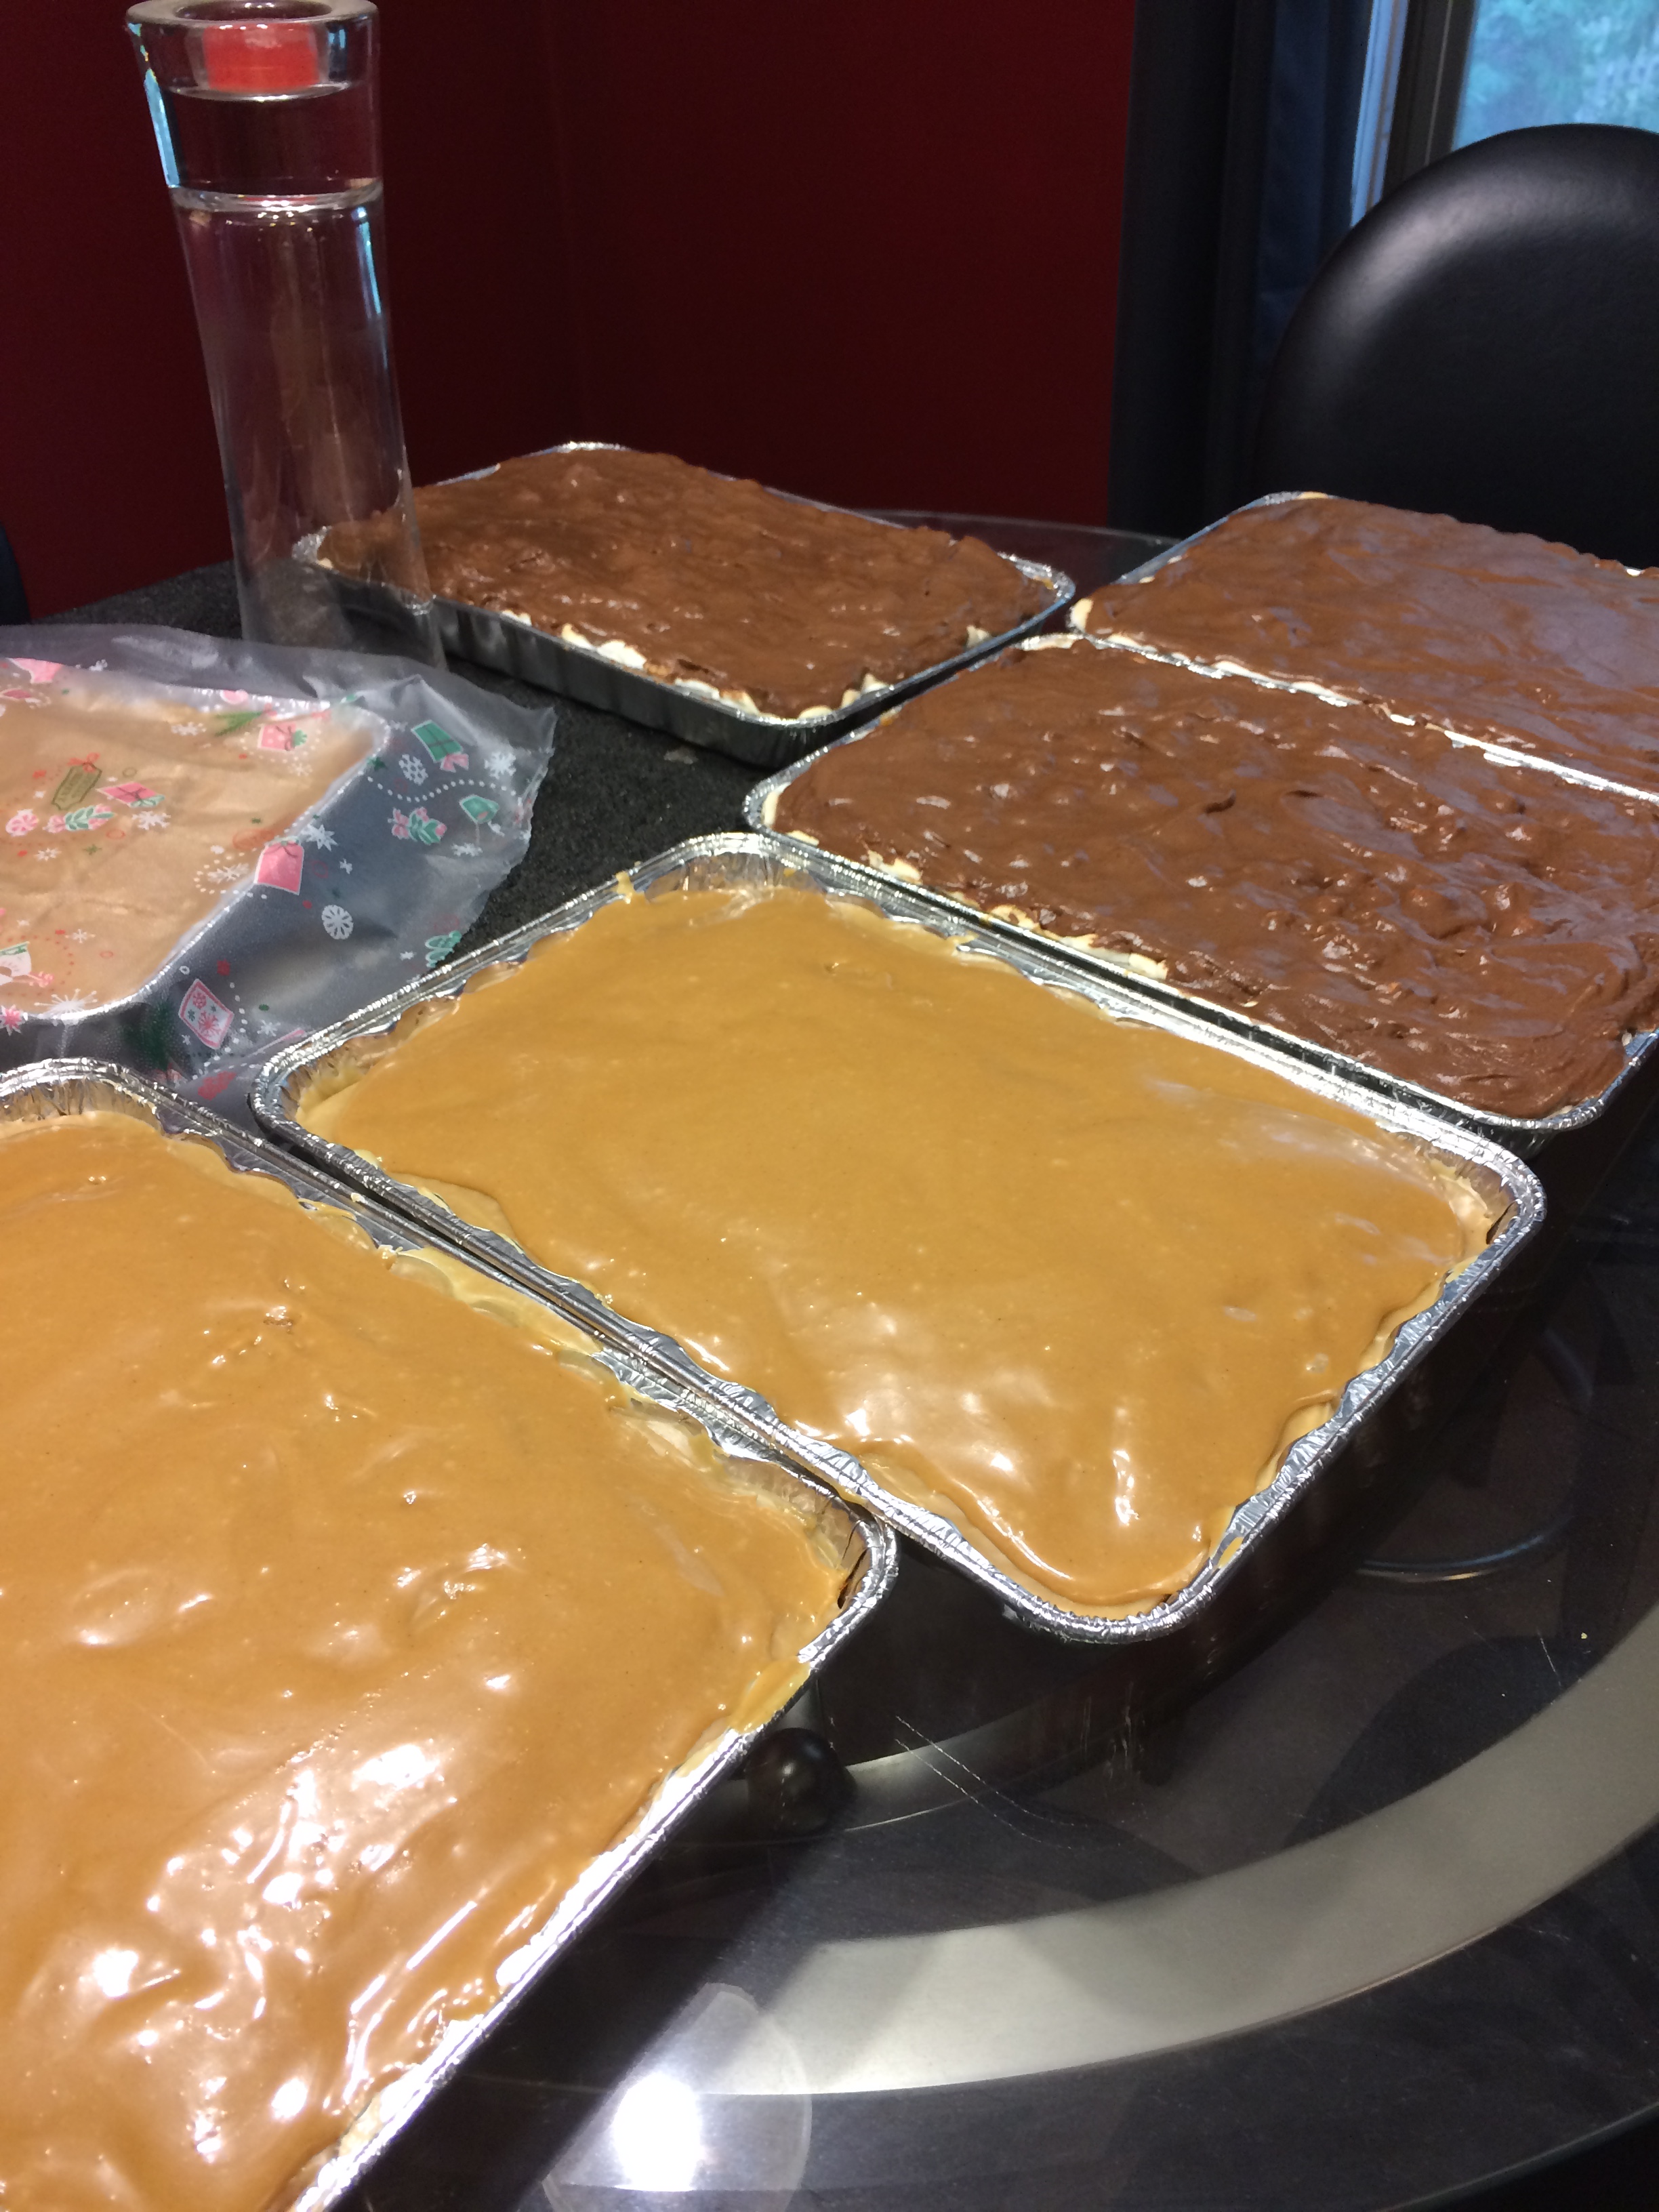
For Pirtlefest 2015 I made 11 pans of desserts.

E…LEV…EN…

smile

It took me from 9pm on Thursday night to 4pm Friday afternoon to get them done, but I got them done.  And boy were they yummy!

I will share the links with you for three of the recipes:

  1. Peanut Butter Sheet Cake
  2. Pumpkin Bars with Cream Cheese Frosting
  3. Caramel Mallow Brownies
    • I altered my original recipe by melting the caramel bits with a little milk, poured it over the brownie base and then added the mallow and frosting.  It was the BEST idea I have had yet!

image

.

I LOVE to bake, as long as it isn’t cookies.  Those little bastards take forever.   But, after almost 24 hours of baking, my Kitchen Aid Mixer was happy to see me go.

For now. 🙂

image

Cheers!